How to Clean Your Fridge and Get Rid of Bad Smells for Good
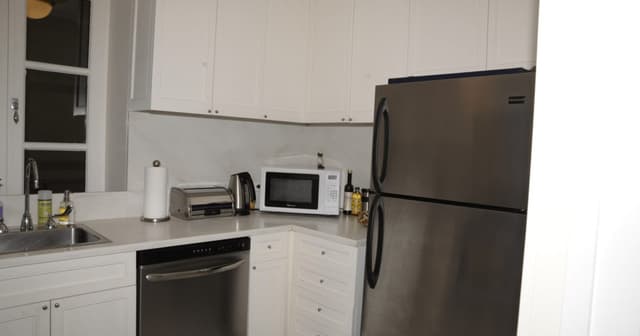
Why fridges start smelling in the first place
A fridge doesn't smell bad because it's "dirty" in the usual sense — it smells because of trapped moisture, spilled liquids that seeped into seals, forgotten leftovers pushed to the back, and mold spores that love the cool, humid environment behind drawers and under shelves. In Vilnius apartments, where kitchens are often compact and fridges get packed tight, this builds up faster than people expect. The good news: a proper deep clean, done right, fixes almost every odor problem — no need for scented tricks that just mask the smell.
Step 1: Empty it completely and sort as you go
- Take everything out, including items in the door and bottom drawers.
- Check expiry dates — anything past its date, or that looks or smells off, goes straight into the bin.
- Group items that need to go back (condiments, dairy, produce) so you're not standing with the door open later.
- Unplug the fridge if you're planning a full wipe-down, especially around the back vents.
Step 2: Remove and wash all removable parts
Shelves, drawers, and door bins should come out and be washed separately in warm water with a mild dish soap. Avoid very hot water on glass shelves straight from a cold fridge — the temperature shock can crack them. Let everything air dry fully before putting it back; moisture left on shelves is one of the main causes of recurring odor.
Step 3: Clean the interior with the right solution
Skip harsh chemical sprays inside a space that holds food. A simple, effective mix:
- 2 tablespoons of baking soda dissolved in 1 liter of warm water, or
- A 1:1 mix of white vinegar and water for tougher grime and stuck-on spills.
Wipe down every surface — walls, ceiling, floor of the fridge, door seals, and the underside of the top shelf (often skipped, often the worst spot). Use an old toothbrush for the rubber door gasket, where mold and food residue collect in the folds.
Step 4: Tackle the source of the smell directly
If the odor is strong or has been there a while, baking soda wipes alone may not be enough. Check these common hiding spots:
- The drain hole and drip tray — usually at the back of the bottom compartment. Food particles and water collect here and rot unnoticed.
- Under and behind the fridge — leaks or dust buildup around the compressor can produce a burnt or musty smell that gets mistaken for food odor.
- Door seals — cracked or loose gaskets let warm air in, cause condensation, and encourage mold.
If mold is visible on the seals, a solution of 1 part bleach to 10 parts water on a cloth (never spray directly) can treat it — just rinse thoroughly afterward since bleach residue near food isn't ideal.
Step 5: Prevent the smell from coming back
- Keep an open box of baking soda inside — replace it every 1-2 months, it absorbs odors continuously.
- Store strong-smelling food (fish, garlic, certain cheeses) in sealed containers, not loosely wrapped.
- Wipe up spills immediately rather than letting them sit under produce drawers.
- Do a quick wipe-down every 2 weeks and a full deep clean every 1-2 months.
- Check your fridge temperature — it should sit between 3-5°C; anything warmer speeds up spoilage and odor buildup.
When the smell won't go away
If you've done all of the above and a musty or sour smell lingers, it's often not the fridge box itself but the compressor area, old insulation, or a drain line that needs clearing from behind the unit — something worth checking if the fridge is several years old. Sometimes it's simpler to bring in help rather than keep guessing.
Wrap-up
A smelly fridge is almost always fixable with a proper deep clean, proper drying, and attention to the spots people usually skip — the seals, the drain hole, the back vents. Do it once thoroughly, then keep up light maintenance every couple of weeks, and the problem shouldn't return.
If kitchen cleaning keeps sliding to the bottom of your to-do list, CleanWhale's apartment cleaning service in Vilnius covers the kitchen as part of a full clean — including appliance surfaces — so you don't have to tackle it alone.


CleanWhale —Your Trusted Home Helper
















We work in 15 countries,
848 cities